
Electronic instruments like the Akai MPC One, Maschine+, or Modular synthesizers are great tools for making music. For me, they serve as a way to escape being at the computer where I’m working primarily with the keyboard and mouse. Exploring other creative modalities like twisting knobs or bouncing pads is great, especially if you use a computer all day for work. In addition to being powerful tools for composition and performance, electronic instruments can also be compact and easy to bring with you away from home or out for live performance. As you can imagine, there are many situations where you would want to use your electronic instruments but don’t have convenient access to power.
To address this issue, many hardware manufacturers have started including batteries in their instruments so that you can use your instruments without needing to plug them in to power. For example, the Akai MPC Live and Live II include internal batteries and market the device as gear that you can bring along on a hike should the creative spark strike you.
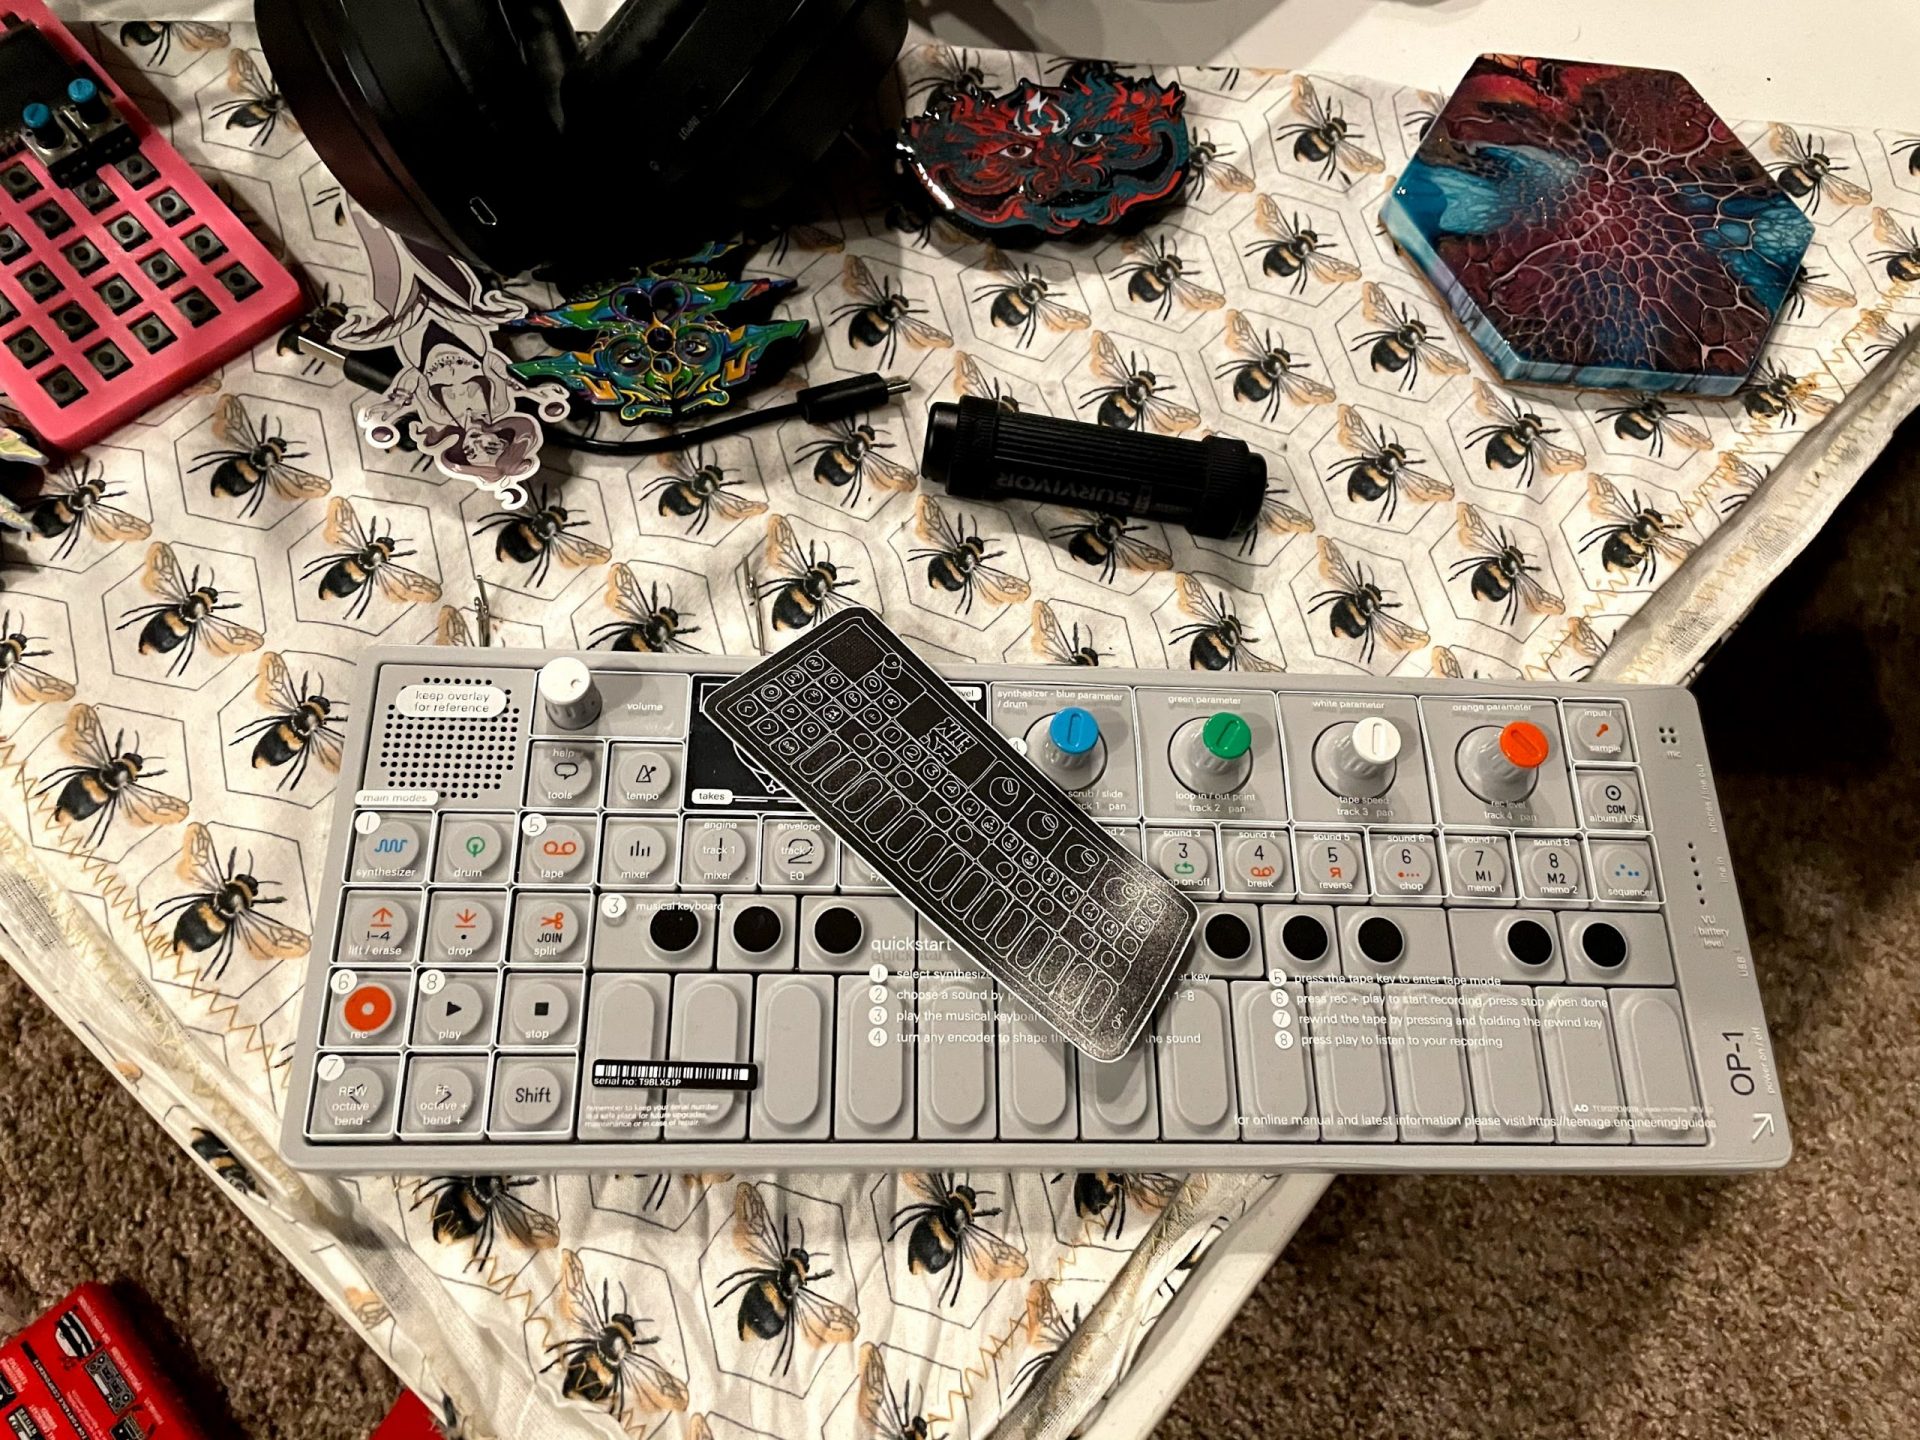
The clever OP-1 from Teenage Engineering can run off its internal batteries long enough (18 hours!) to last through many sessions and is sophisticated enough to compose complete works on.
Being able to just pick up and play with instruments like this gives them a charm that differs from powering on a computer and running a windowed application with VSTs.
So what do when you have an instrument that you wish were battery powered but that isn’t? Just add a battery! Batteries are abundant because what is essentially the same system that is used for powering a laptop, RC aircraft, or cell phone is exactly what you would be looking for to power your instrument. You can easily purchase online a ready-built power supply for your device based on the voltage, size of the connector, and required amperage. If it’s not plainly written on the device, a little dive into the user manual usually can get you all the details that you need. With the ready-built battery, you can plug in the adapter just as you would into a wall and you’re free from needing a wall outlet!
I’ll show you how I did this for a few of my instruments. First, let’s look at the Maschine+.

If you just flip it around and look at the plug on the back, you’ll notice some markings written on the back near the DC power jack.

The labels tell you everything you need to know to find a compatible power adapter except for the size of the barrel connector. The voltage (15V) is provided first, and the amperage (2.6A) is next with the lines in-between indicating that the power is DC (not a squiggly sine wave) with the polarity of the outer ring being ground (solid line) and the inner pole being the connector’s voltage. To identify the size of the barrel connector, I checked in the manual but couldn’t find it so I measured it with a micrometer to approximate and then searched for replacement parts to verify. I still came up short but many of these plugs are roughly 2.5mm which seemed close to what I measured the plug to be.
The near-final step is to try and find a battery that provides the voltage (15v) with sufficient amperage (2.6A) that includes a compatible 4mm (??? I had to guess on this one) plug. I searched on Amazon, and found this little beauty – the BatPower EX7H – which at a minimum met the voltage requirements. To do this, I asked Wolfram Alpha, how many amps is 90W at 15V and it said 6A, which should be plenty of power to meet the 2.6A the Maschine+ needs. I waved a magic bone over my keyboard and rolled the dice with BatPower.
After the charger arrived, I opened it, verified the connector worked – if it were the wrong size, I would have found a kit of barrel plug adapters – then read the manual to figure out how to set the battery to 15V. After setting it all up, it was time for the moment of truth! I powered on the battery, plugged it into the Maschine+, and the power light lit up. After that, the device worked just as well as it would have plugged into the wall.

I have done similar additions to my MPC One and to make it more convenient for use in my kitchen, I even added some USB speakers and 3D printed a stand. The result was this chonky boi:

All set for timer beats
So there you have it, I hope this inspires you to add power to more of your music gear so you can use it more freely! I have made portable modular setups similarly – the possibilities are endless!
