
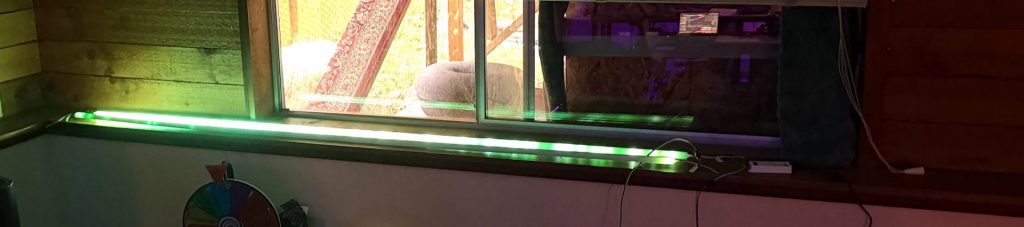
The following image shows some LED sticks in action:
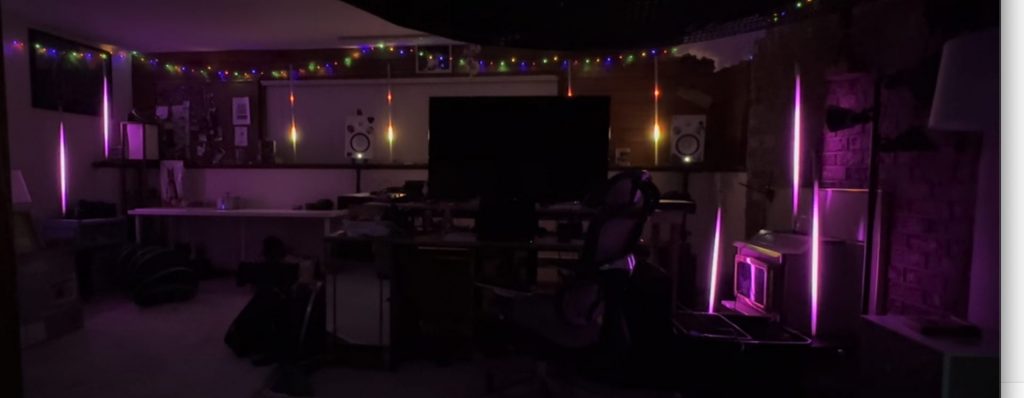
I’ve also included a video showing a few strips running at once.
LED strips in nice diffusers can add really cool atmosphere to your party or event.
Overview
You will want to get the following parts:
- LEDs
- Controller
- Power
- Diffusers
Then you will assemble them as follows:
- Place LEDs into diffuser
- Connect controller to power
- Connect controller to LEDs
I recommend the following parts or similar, generally when I buy them I search for the part in bold then buy what’s cheapest and delivers fastest:
- LEDs – 5V WS2812b – they are cheaper and easy to find in 144 LED/m configuration if you want bright high details or 60 LED/m if you want longer strips and are less picky about there being shadows between pixels. Note that they come in 5v and 12v configurations, I prefer 5v but 12v can be easier / cheaper to power.
- Controller – WLED32 controller – easy to use and already connected up, strongly recommend finding configurations with the ESP32 instead of the ESP8266 – they cost more but are much more capable.
- Diffusers – LED Strip Diffuser – find ones with milky white covers and channels in a shape you like
- Power supply – 5v power supply – they vary in AMPs, more amps will power more LEDs per power supply. You can buy power supplies in enclosures for a little more money and they come with a plug installed or you can buy them open and supply your own wiring. I usually just get the enclosed ones for safety and because they require less wiring. I have not identified the actual limits of how many LEDs can be powered per amperage but have powered 600 LEDs with 10A power supplies.
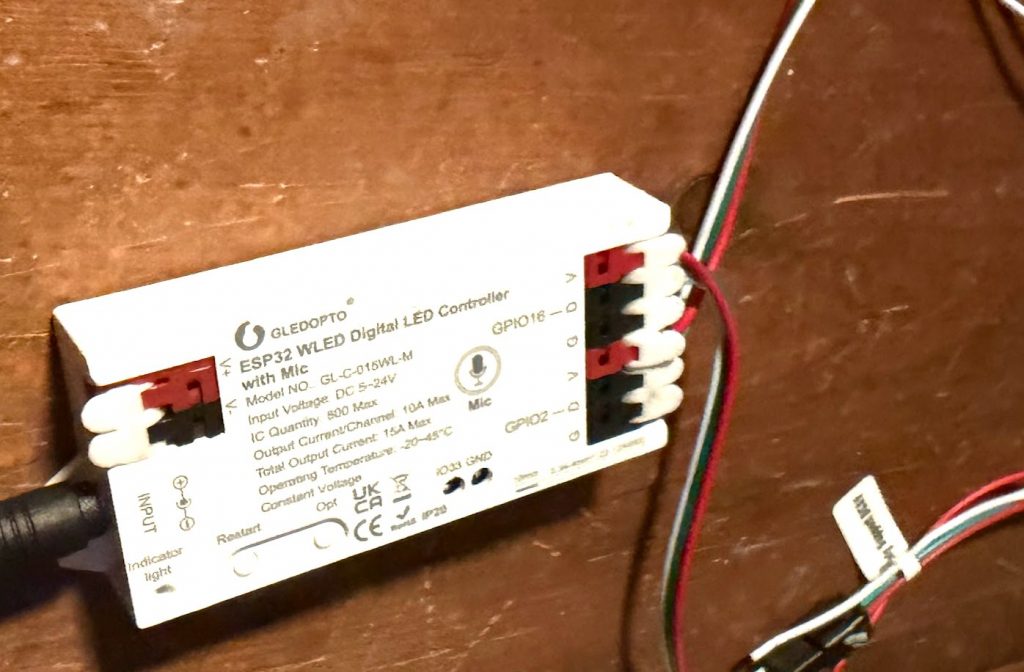
Connecting the hardware
For the LEDs, you will always want to pay attention to the positive, negative, and data lines of the LEDs labeled +5V, D0, and GND in the following example.

If you reverse or misorder the lines, things will not work or worse, you will damage the LED strip. Note also the arrow on the LED strip, this indicates the direction of the data, which must start from the controller.

Most LED strips ship with a JST connector already attached to the LED strip as well as an additional JST connector to plug into your controller. These connectors in a 3-pin configuration look as follows.
If your strip does not have a JST connector, solder the red wire to the +5V side, middle wire to the data side, and the other wire to the remaining solder pad.
When connecting a JST to your controller you typically will connect the red to V on your controller, the next pin to the data line, then the final line to ground. On the controllers I recommend, you will not need to solder the wires but can just pull up the connector, slide the wire in, and then clamp the JST connectors into place.
If you need to connect multiple WS2812b strips together to meet the size requirements of your diffusers, you can directly solder between the two strips as shown below.

You can also just connect strips with JST connectors or attach JST connectors to any inputs on your LED strips – just make sure you are connecting the red wire to +5V as appropriate.
After you have connected your LED strips to the controller, you can connect the power supply to the bullet plug power input and your LEDs should turn on. Note that before you configure the LED controller, only a couple of the LEDs will turn on – we’ll address this in the next section.
The following image shows the bullet plugged into the LED controller.
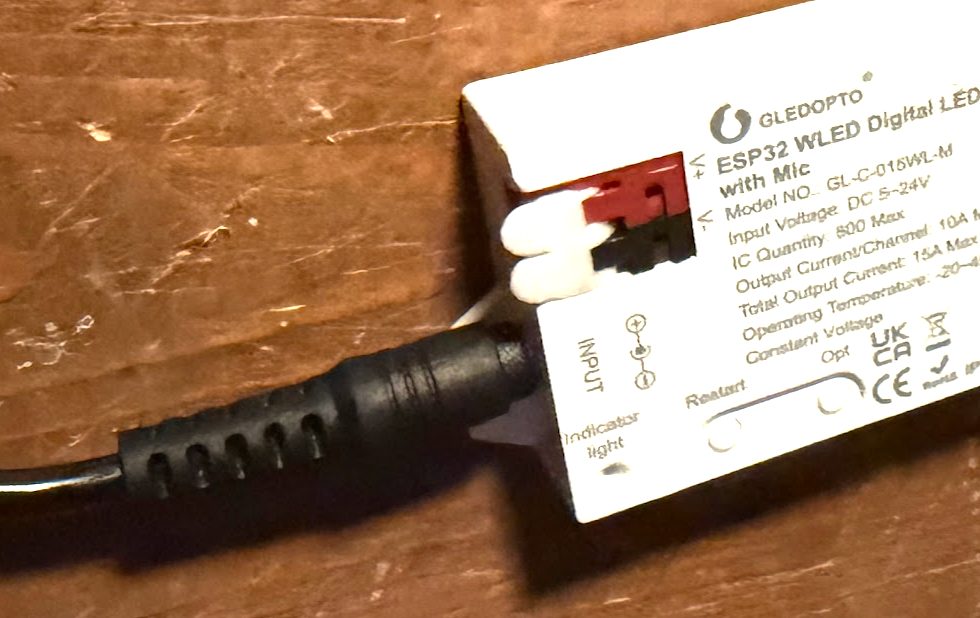
If your LED strip is turning on at this point, you’re ready to set up the controller software.
Initial setup for WLED controller
The LED controller will ship with the WLED software – this greatly simplifies basic LED functionality and expands your controller to support external controls through things such as ART-Net, DDP, and so on. There is an app you can install on your Android or iOS device, which also makes it easy to control while on the go. There is also an online updater for upgrading and flashing your WLED software without special software.
After your controller is powered on, it will create a WIFI access point, WLED AP. Connect to this access point with the password wled1234. After connecting to the AP, open up a web browser and go to http://4.3.2.1 and then select take me to the controls. This will load the mobile interface and you can open the settings by clicking the gear in the top right corner.
’The settings menu will look something like the following image, you will want to start by opening LED preferences:
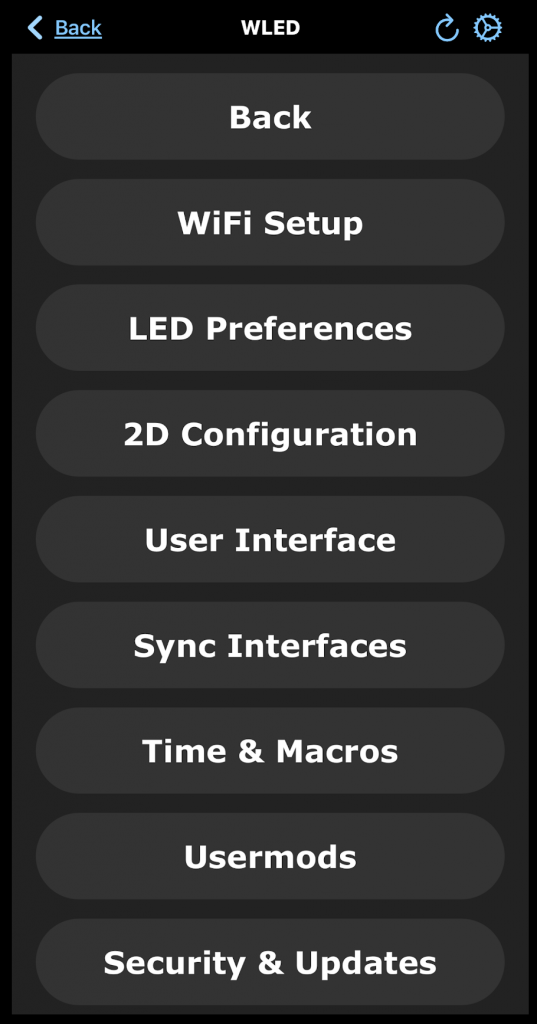
From here, you can enable all of the LEDs in your strip by setting the strip length for the connected LED strip:
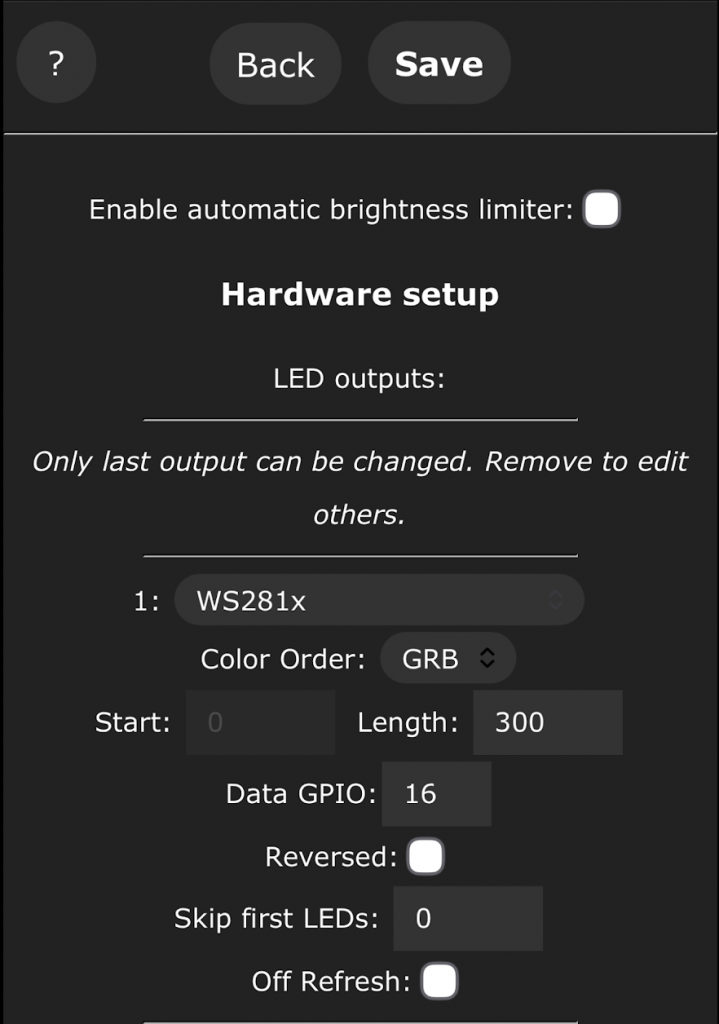
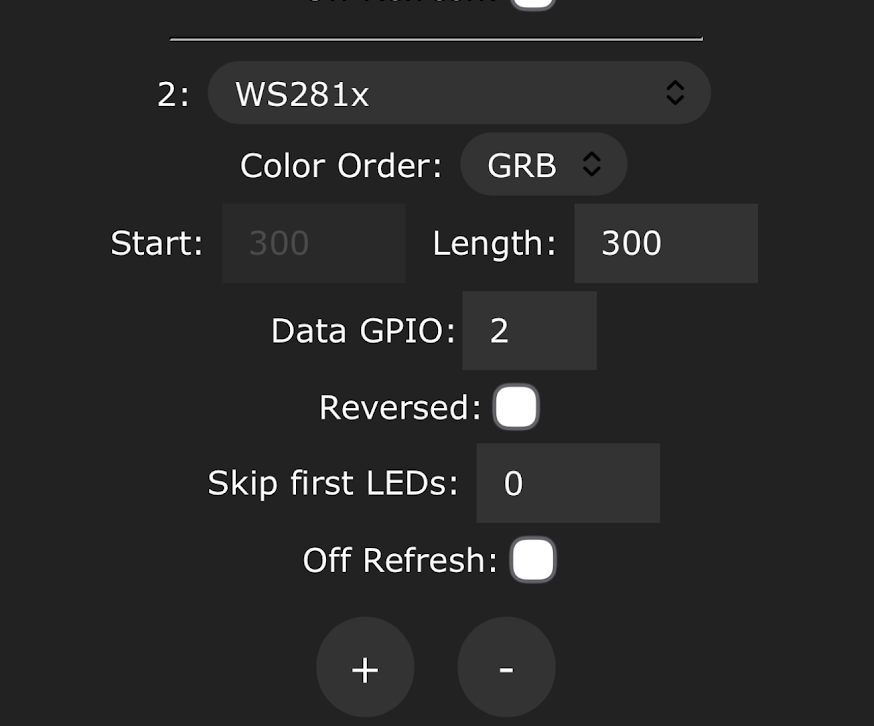
You can also enable the second strip output from the controller if it’s there by clicking the + icon and then inputting your LED settings for length and GPIO, which is usually written on your controller – in my case 02 for the second strip or 16 for the initial strip:
Click save and all of your LEDs should light up now. You can now go back to the controls and try out some effects.
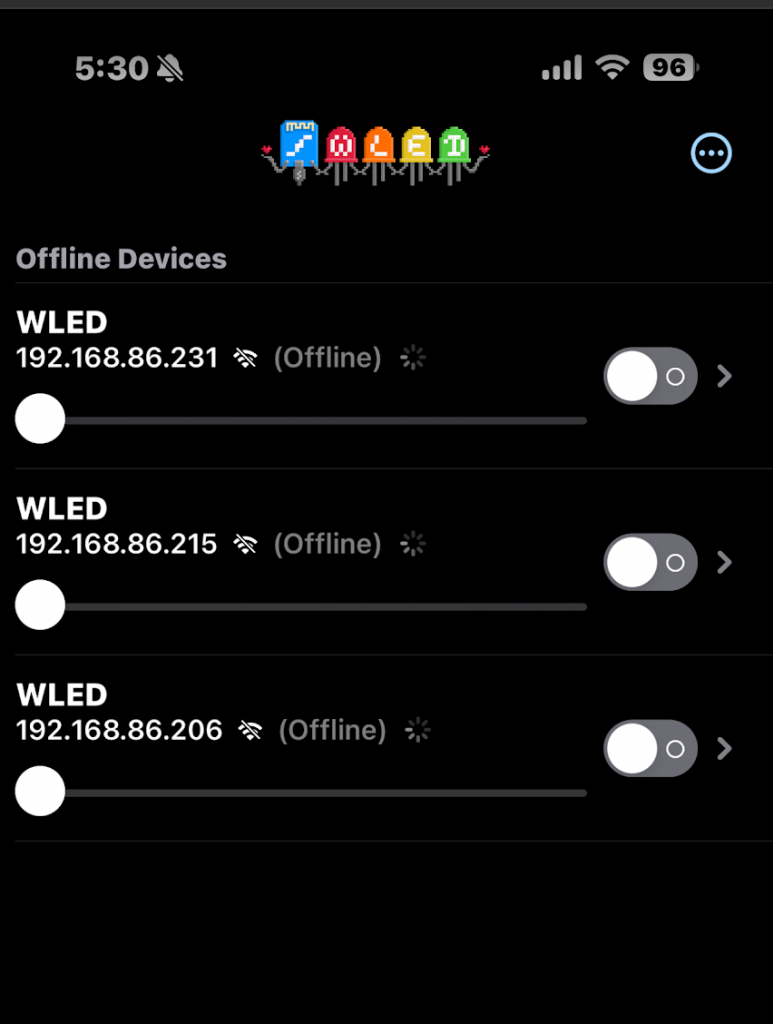
If you want to control lots of LED strips, it’s a good time to also connect your strips to WIFI from the WIFI controls settings menu.
Click scan, then select your WIFI network, input your password, then click save. After you do this, the LED controller will connect to your WIFI and you can then access your LED controllers from the WLED Native app.
At this point your LEDs are working and you can set them up with the colors to meet your personal preferences. If you want to try visualizing audio from a computer, check out LEDFX!